Sunday, May 8, 2011

Our life in pictures

Boots after a days work
Master Calvin helping in the kitchen
Cheese and Quackers
Princess Dragon Snack helping with spring work
Master Calvin with "Quackers"
Princess Dragon Snack helping make
pork chops on the wood cookstove
In the schoolroom
Wishful thinkin'
Miss Calamity sporting the mask she
and Maid Elizabeth made for the
renaissance faire
Cheese and  Quackers take to swimming
like a duck to water!
Hand Grenade and Farmer Boy enjoying
a little friendly competition - man
versus machine!

Saturday, May 7, 2011

Product Review - Powdered Scrambled Eggs (Stored Foods French Toast)


*****
After trying Augason Farms powdered scrambled eggs we determined that we needed to come up with some recipes in which the scrambled eggs were not the star of the show.  A number of folks mentioned that they used the powdered scrambled eggs to coat bread for French toast and a reader "Nikki" wrote in wanting a review of the scrambled egg powder being used with French toast.

This morning, with French bread freshly baked, we decided to give the powdered scrambled egg another try.  Not to put to fine a point on it, but, it was tremendous!  We sliced the French bead fairly thinly, coated it in the scrambled eggs and cooked slices up on the griddle.  Not only were they fabulous, we really couldn't taste any difference between the powdered eggs and fresh eggs.

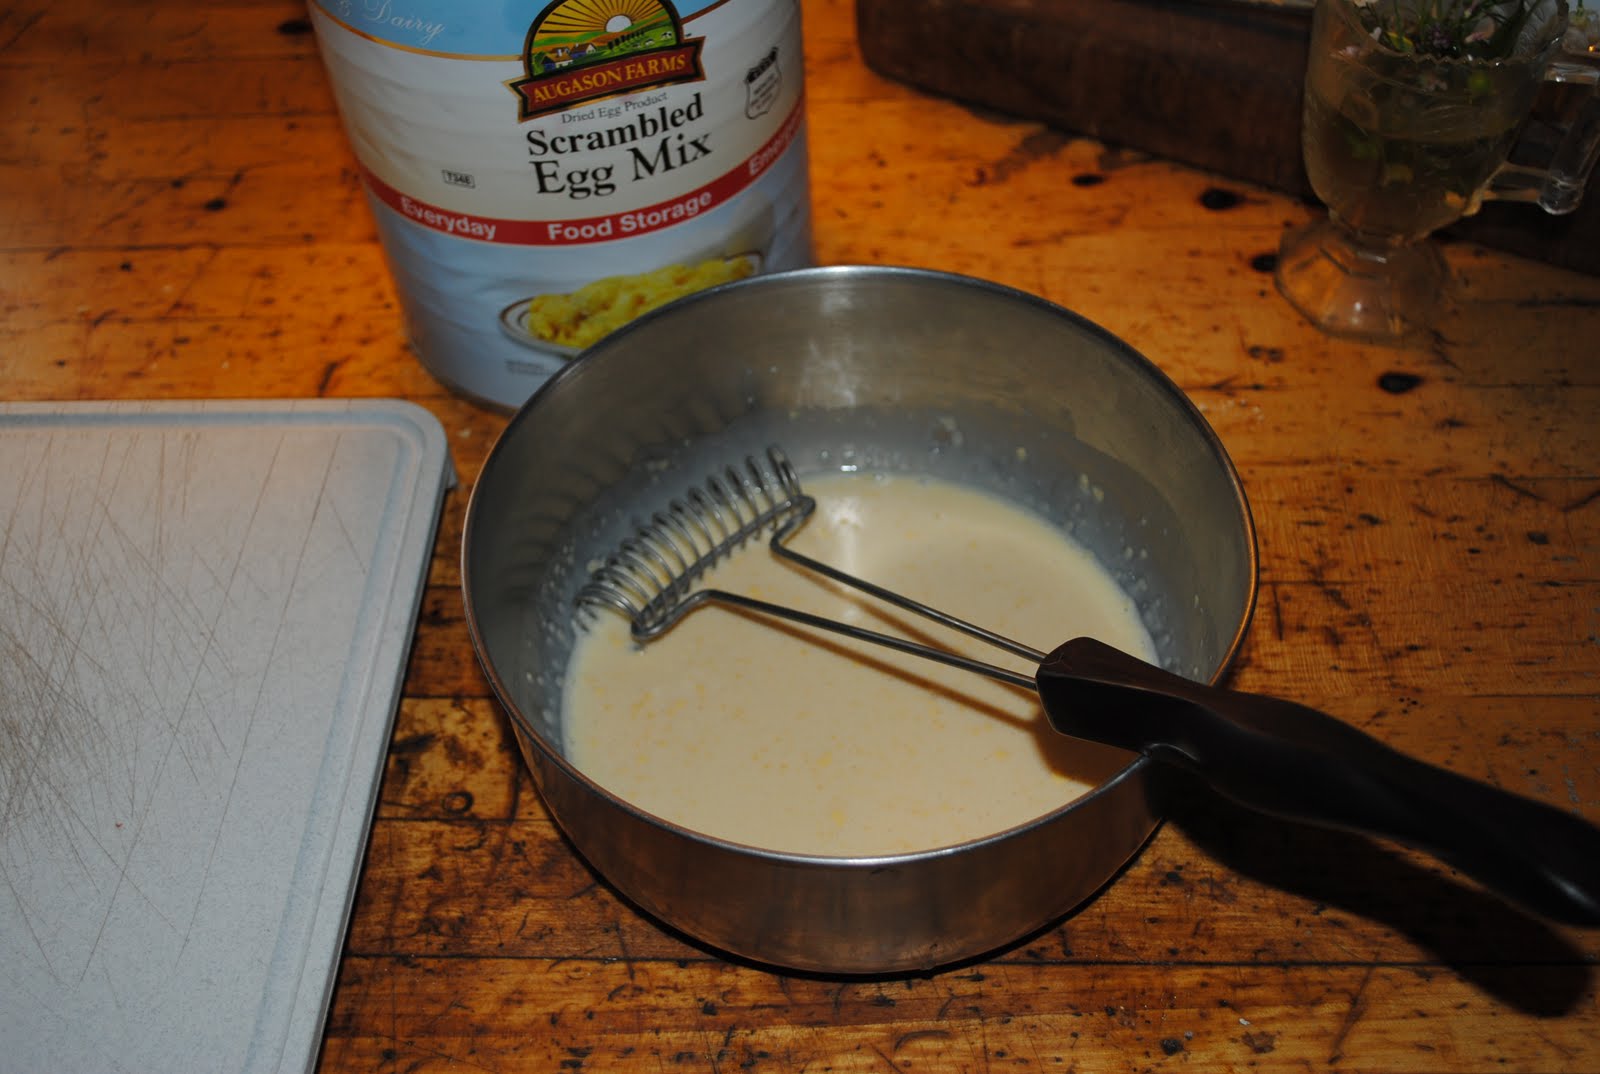
Mixing up the egg powder
French bread, thinly sliced
Soaking the bread in the egg mixture
On the griddle
Whole wheat bread coated in the powdered scrambled egg mixture and cooked up would be a perfect, nutritious, post-TEOTWAWKI breakfast.  Not only would it provided you with tons of fiber and protein, it would be a little taste of home.

Our family wholeheartedly, unabashedly recommends the powdered scrambled eggs for use in French toast.  A definite 5 star meal.

Mock Filet Mignon


This is one of our all-time favorite recipes.  You can practically hear your arteries hardening while you eat it, but it is worth every bite!

Mock Filet Mignon
1 1/2 pounds ground beef
2 cups cooked rice (we use leftovers)
1 cup diced onion
1 tablespoon Worcestershire sauce
1 1/2 teaspoons salt
1/4 teaspoon pepper
1/4 teaspoon garlic powder
bacon

In a large bowl, combine beef, rice, onion, Worcestershire sauce, salt, pepper and garlic powder; mix well.  Shape into six (we often make 8 smaller patties) patties.  Wrap a strip of bacon around each patty; fasten with a toothpick.  Place in an ungreased shallow baking dish.  Bake at 450 degrees for 30 minutes or until meat is no longer pink.

Generally, we have baked potatoes and green beans with our Mock Filet Mignon.  It is a wonderful meat and potatoes, stick to your ribs kind of meal!

Mixing the meat, rice and spices
Made into patties
I always put bacon on top, too!
Securing the bacon with a toothpick
Umm good!!!
Dinner is served

Thursday, May 5, 2011

Cattle Panel Landscaping


My husband thinks we are rednecks.  I have no idea what he is talking about!  A couple of summers ago, Sir Knight built beautiful raised planters in front of my sun room.  I decided that I wanted to plant vegetables in the beds, so, in order to support the climbing bean plants, Sir Knight installed cattle panel supports.  It was a stroke of genius!  Not only did the panels look quite nice they provided perfect support as the bean plants grew and climbed, and in turn, the beans blessed us with wonderful, filtered shade in our sun room.

Last summer, in my intense desire to move, I neglected any gardening or beautifying pursuits.  My garden beds sat empty, my flower beds, tangled and overgrown.  In my mind, we had moved already, even though our physical bodies were here.  This spring, although it feels like I am admitting defeat, I am planning new garden beds, sprucing up the flower garden and preparing the chicken coop for a new flock of hens.  As I keep telling my children, we must live where we are, not where we want to be.

After visiting my friend, Lady Day, I was inspired by her lovely gardens and flowers - her manicured lawns and carefully tended shrubs.  I came home with a renewed desire to make the best out of "Little Shouse on the Prairie".  One of the features I have always admired in a home is a lovely little arbor outside the front door, covered in tangled vines.  Once, I made a twig arbor (with the help of Master Hand Grenade), only to have it disintegrate after about three years.  Not wanting to repeat my first experiment, I searched my brain for another alternative.  My visit to Lady Day's, provided the inspiration!  Lady Day's husband built a rose arbor for her out of metal fence posts and a cattle panel.  It is impervious to the weather and provides a perfect platform for Lady Day's climbing roses.  Painted white, it is quite lovely, with a very homespun quality.

Cattle Panel just put in place
Papering the "Shouse" so the paint
doesn't get on the metal
Maid Elizabeth, doing her mother's dirty work
Borrowing Lady Day's ingenuity, Master Hand Grenade, Maid Elizabeth, Miss Calamity and I set about building an arbor of our own.  Master Hand Grenade pounded the fence posts into place, Maid Elizabeth and I held the cattle panel in place as Miss Calamity secured it with industrial tie wraps.  After the arbor was up, Maid Elizabeth taped newspaper to the shouse and began the tedious task of painting a 7 foot tall cattle panel arbor.  It is beautiful!


Cattle panels and planter boxes outside
the sun room
Miss Calamity and I wound an LED light string through the panel (it will be beautiful on long summer nights) and Master Hand Grenade has begun building planting boxes for the base of the arbor.  Rather than roses, I think I will plant Virginia Creeper.  It is less showy than roses, but is not as likely to attract quite so many yellow jackets in the late summer.

As much as I would love to be moved and settled, I will continue to do my best to live where I am, not where I want to be.

Tuesday, May 3, 2011

Equipment Review - Diamant Grain Grinder


**** *
Many years ago (prior to Y2K), Sir Knight and I made some major preparedness investments.  One of the investments we made was the Diamant grain grinder from Lehman's Non-electric.  What an incredible piece of equipment it has proven to be!  We have used our grain grinder for over ten years to grind everything from pastry flour to cracked corn.  We have ground wheat (of every variety), beans, buckwheat, corn - just about anything you can think of.  The only thing the Diamant won't grind is peanuts (because of the oils that are present).


Because the Diamant has a huge flywheel it is relatively easy to turn.  Of course the finer you want your flour, the harder the work.  Cracking grains is a snap and takes very little effort.  The handle is huge, so there is plenty of room for two people to stand opposite each other and grind at the same time - many hands make light work!  There is a spot on the Diamant flywheel for a v-belt, so hooking it up to an engine is relatively simple.

One of the selling points for us was the fact that not only could the Diamant provide the finest flours available, it could also crack grains for animal feeds.  We wanted the ability to crack our own homegrown grains in the event of a total economic collapse or worse.  The Diamant is a proven workhorse, often bolted in the village square in its native Denmark to provide the residents with a reliable grinding source.


Last year, I knocked our Diamant off the counter.  One bolt and the front casing broke and I was devastated.  A call to Lehman's later, and we were back in business.  Lehman's carries a full line of replacement parts for the Diamant.  The newer Diamants are made in Poland rather than Denmark.  I have heard nothing of their losing quality after their move.


The Diamant is one of the better preparedness investments we have made.  We would unequivocally give the Diamant four out of five stars.  The only reason this grinder didn't earn a five star rating is the price (which is out of this world).

A grain grinder is one of the best preparedness purchases a family can make.  Choose wisely.


Hushpuppies
6 tablespoons butter, melted and divided
2/3 cup yellow cornmeal
2/3 cup grated smoked Cheddar cheese
1/2 cup chopped green onion
1/3 cup all-purpose flour
1 teaspoon baking powder
1/2 teaspoon salt
1/4 teaspoon pepper
1/4 teaspoon paprika
1/3 cup milk
2 large eggs

Preheat oven to 450 degree.  Brush a madeleine pan with 2 tablespoons of melted butter, set aside.  In a bowl, combine cornmeal, cheese, green onion, flour, baking powder, salt, pepper and paprika, mixing well.  Set aside.  In a small bowl, combine milk, eggs and remaining 4 tablespoons butter, whisking well.  Add milk mixture to cornmeal mixture, mixing until just combined.  Spoon dough into prepared pan.  Bake until hushpuppies are golden brown and cooked through, approximately 12 minutes.

Mixing dry ingredients
Stirring to combine
Spooning into prepared pan
Hushpuppies!

Saturday, April 30, 2011

The quintessential pot of tea


We are family of tea lovers.  It's not so much the tea itself (although we do enjoy a good cuppa), rather our love affair with tea has a lot more to do with the indefinable aspects - the routine, the relaxation, the relationship.

When Maid Elizabeth was a little girl, we would have Mad Hatter tea parties.  We all wore hats (even Sir Knight) and when the mood struck, we would randomly exchange our hat with another.  It was a sight to see Sir Knight in a pink straw hat with yellow lilies, but he bore his burden well and our days of Mad Hatter tea parties evoke fits of laughter still.

As our family grew, our Mad Hatter tea parties gave way to "tea time", when Sir Knight and I would shew all of the children out of the house or to their rooms, and we would spend a half an hour reconnecting after our days work.  The parties grew calmer, but the relationships grew deeper.

Tea time still exists in our home, but has evolved once again.  The older children - Maid Elizabeth, Master Hand Grenade and occasionally Miss Calamity now share our tea table.  While Princess Dragon Snack and Master Calvin play, color or read in the other room, Sir Knight, the older kids and I share our lives with one another.  We talk about what is most important to each of us.  Problems come to light and victories are shared, hearts are mended and characters are shaped.  As our teacups are emptied our lives our filled.

Over the years, we have perfected our tea time.  Although our tea selection may vary, our routine never does.  We start our tea time with a heated tea pot.  Heating the pot is the difference between a tepid, mediocre brew and a pipping hot cup.  I then put on fresh water (always use fresh water - never water that has been boiling away on the stove - previously boiled water loses it oxygen and provides a very inadequate cup of tea) and prepare my tea table.  The tea pot I prefer is a Chatsford pot.  It has an infuser basket for the tea, allowing the tea to fully expand, producing a much better flavor.  There are other option for loose tea, however, the most common, a tea ball, is a very poor substitute.  If I don't have my Chatsford pot with me (when we travel), I always make sure that I have a tea sock.  A tea sock will fit in any pot and allow the tea to expand properly.

Chatsford pot with Infuser basket
Pre-heat with boiling water
Putting the basket into the pot
Tea filter or tea "sock"
When the water has been freshly boiled, I pour my water into the infuser basket that is placed in the teapot.  Teas steep (sit) for various times, depending upon the type of tea.  Generally, I make Bond Street English Breakfast (from Upton Tea), and it steeps for 5 minutes.  In the evenings, especially in the summer, we will indulge in a gunpowder green tea, which steeps for only 2 minutes.  After the tea has steeped, I remove the infuser basket (so the tea does not continue to get stronger), put the lid on the pot and start pouring tea.

Pouring water into the infuser
Taking the tea filled infuser out
of the pot after the tea has steeped
Every once in a while, I run out of the good tea that we love and have to make do with bagged tea.  Really, it is not a terrible substitute, as long as you cut open the bags and use the tea like a loose leaf tea.  A good rule of thumb is to use 1 tea bag per cup (how many tea cups your pot holds) and 1 bag "for the pot".  My tea pot is a 10 "cupper" so if I have to use tea bags, I cut open 11 bags.  When using loose leaf tea, you use 1 teaspoon of tea per cup and 1 for the pot.

Tea time aftermath
Although the wisdom of the day goes back and forth on the healthfulness of tea our family never wavers.  For us, it has little to do with health and everything to do with drawing our family together.  Tea makes each of us a part of something bigger.  It provides stability, routine and a platform for sharing our lives.  When our lives get difficult, our first response is to pray and our second is to put on the kettle.

White Wedding Cookies/Russian Tea Cookies
1 cup butter, softened
1/2 cup confectioners' sugar
1 teaspoon vanilla extract
2 cups flour
1/4 teaspoon salt
1 teaspoon baking powder
3/4 cup toasted pecans, finely chopped
confectioners' sugar

Preheat oven to 350 degrees.  In large mixing bowl, cream together butter, powdered sugar and vanilla.  Beat until light and fluffy.

Stir together flour, baking powder and salt.  Gradually stir flour into butter mixture.  Add pecans, stirring until the nuts are evenly distributed.

If dough is too sticky to handle, refrigerate until firm. Break off 1 inch pieces of dough; roll into balls.

Place on ungreased baking sheets, 2 inches apart.  Bake for 10 to 12 minutes or until set but still pale in color.

Cool slightly, then roll in confectioners' sugar.  When cookies are completely cooled, roll in confectioners' sugar again.

White wedding cookies

Friday, April 29, 2011

Always have a backup plan....


I have a love/hate relationship with my Bosch Universal Mixer.  I love it when it works and I hate it when it pulls my chain.  Lately, my Bosch has been getting a little dodgy.  It started by being difficult when I wanted to remove the bowl from the power base.  Then, it began not always turning the dough hook when I turned on the power.  The other day, in the middle of a double batch of peppermint patty dough, it failed to work at all.  Enough is enough!  This evening, when it was time to put a sponge on for pizza dough, Maid Elizabeth and I opted to bring out the hand crank dough mixer.  We put all of the ingredients in the bucket to sponge as usual and then added our flour and began to crank.  It worked like a charm!  The only issue we had is that our non-electric kneader is huge (10 quart capacity) and we were just making a little pizza dough.  It kneaded the dough very nicely, we just had to do the final kneading by hand.

Putting the dough hook in the bucket
Put the lid on the bucket for sponging
and raising
Kneading the dough
We had so little dough that it was
hard to mix it all in together
Maid Elizabeth finished kneading by hand
The prepper's code dictates that you always have three ways to do anything.  Mixing bread dough in no exception.  We have the Bosch, the hand crank mixer and our very own two hands.  Come what may, we will always find a way to make fresh, wonderful bread!

Bread making directions on the top....
and the bottom of the lid
Lehman's Non-Electric used to carry a version of this hand crank mixer.  I looked at their website and they don't seem to carry one any longer.  We bought ours in an antique store, and I have seen them at flea markets, yard sales and on ebay.  Ours has been a pretty handy investment.

What was left of our Friday night pizza
Once again, the prepper's code is more than a motto, it is a way of life.